Wednesday, October 31, 2012

Thai Pumpkin Curry: The Recipe

Check out this recipe on my new and improved website: thewalkingcookbook.com

As sure as October leads to November, these months also lead to one thing for me: pumpkin obsession. From the Pumpkin Ravioli at Becco to the Pumpkin Pie Concrete at Shake Shack, I swoon for anything that is made with everyone's most beloved gourd. This is why Thai Pumpkin Curry (available YEAR ROUND at most Thai restaurants!) holds a secure position in my top three Thai restaurant choices. In no particular order, they are:

  • Pumpkin Curry
  • Pineapple Fried Rice
  • Cashew Tofu

As much as I love Pumpkin Curry, however, I have never actually made it. So this week is the week. Curry paste can be purchased, but I would love to know how to make it, so I'll give it a whirl!

The recipe I chose is from Thai Table, which has a plethora (or maybe, given the season, I should say cornucopia!) of Thai recipes, an illustrated ingredient glossary, and a search function for Thai restaurants and markets. The Pumpkin Curry recipe looks delicious and straightforward, and despite the fact that the recipe authors used the word "mouth feel" in the description (eew), the taste and texture should both be lovely. I hope to make mine early and simmer it until the cows come home. This should add to the "mouth feel" (couldn't resist). This recipe is vegan, gluten-free, and can be adapted to fit varying levels of spice tolerance. Serve with your favorite rice (Thai Table recommends jasmine).

I'll be starting my meal with Mini Thai Shrimp Lettuce Wraps and finishing it up with Peach Frozen Yogurt. Can't wait!
Hearty, healthy, and comforting... perfect combination

The Recipe: Vegetarian Pumpkin Curry, adapted from Thai Table
Yield: 8 servings
Ingredients:
  • 2 chile peppers (make your spiciness decision here)
  • 2 cups coconut milk
  • 8-10 kaffir lime leaves
  • 2 lb. pumpkin (the eating, not the carving kind)
  • 6-8 sprigs Thai basil
  • 2 cups water
  • 2-4 tbsp. vegetarian red curry paste (see recipe below)
Preparation:
  • Slice pumpkin open and remove seeds.
  • Cut the pumpkin into chunks and cut off the peel.
  • Cut the pumpkin flesh into 1 1/2 inch cubes.
  • Remove basil and kaffir lime leaves from stem.
  • Julienne red chili pepper.
  • Pour half of the coconut milk into a pot over medium heat. 
  • Add the red curry paste and mix it well, stirring frequently. When the reddish oil starts to form, stir some more.
  • Add the pumpkin and stir to coat with curry sauce.
  • Add the rest of the coconut milk and water.
  • Season gradually with salt, tasting frequently (the curry paste provides plenty of salt, so you don't want to add too much)
  • Simmer the pumpkin until soft, about 15 minutes, and longer if you want a thicker curry.
  • Add basil, kaffir lime leaves, and sliced chile.
  • Serve hot with rice.
This recipe did not have a yield, but it should make plenty for the Pumpkin Curry and beyond
The Other Recipe: Vegetarian Red Curry Paste, adapted from Thai Table
Ingredients:
  • 4-5 dried whole chiles (make your spiciness decision here)
  • 1/2 cup shallots, peeled
  • 1/4 cup garlic, peeled
  • 3-4 tbsp lemongrass, chopped finely
  • 2 tbsp salt
  • 1 1/2 tbsp galangal (ginger works too)
  • 1 tbsp cilantro root (the stem can work too, but it is a little stronger)
  • 1 tbsp coriander
  • 1 tbsp kaffir lime zest
  • 1/2 tsp cumin
  • 1/2 tsp peppercorns
Preparation:
  • Soak chiles for 10 minutes until soft. Remove the stem and seeds. Squeeze out water.
  • With a mortar and pestle, grind together peppercorns, cumin, and coriander.
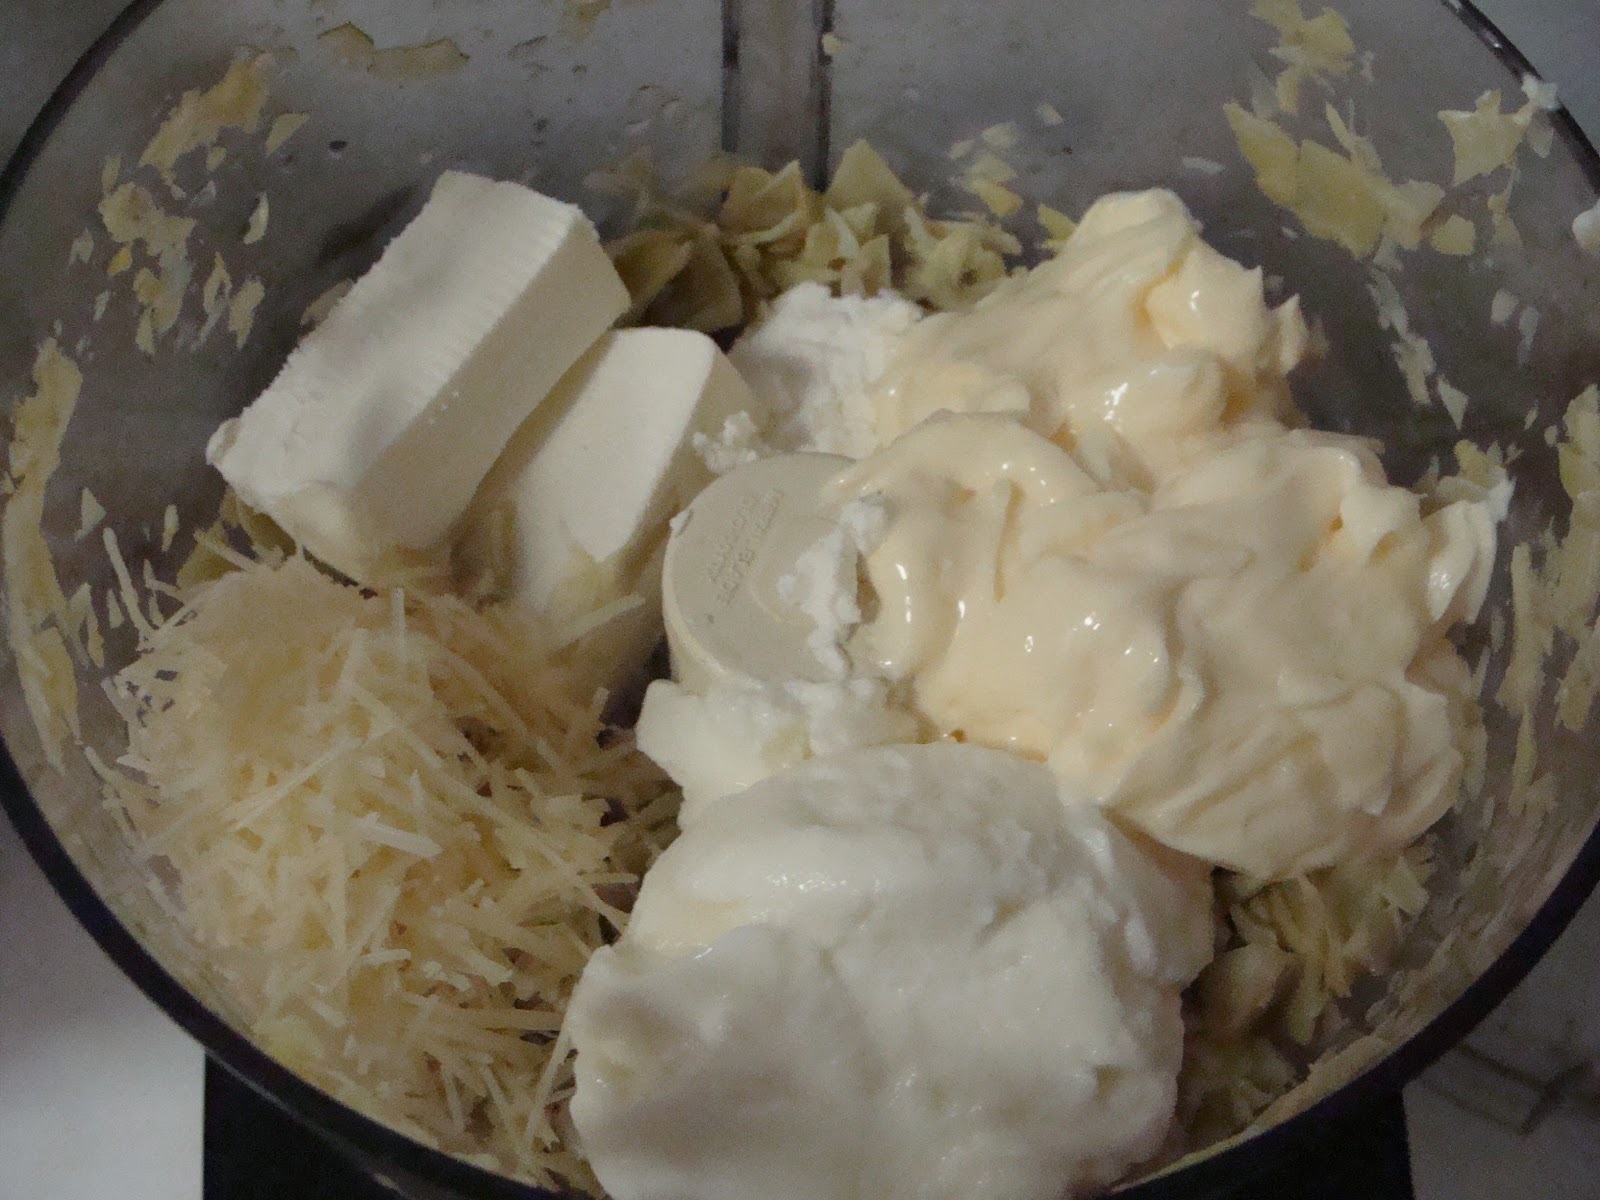
  • Add all other ingredients to a food processor (or keep it traditional with the mortar and pestle) and blend until it is a firm, red-orange paste.
  • To save for later, you can refrigerate for a few weeks or freeze for up to a year.
Time to memorize: 3 days

Tuesday, October 30, 2012

Spinach Artichoke Dip: The Results and Modified Recipe

Check out this recipe on my new and improved website: thewalkingcookbook.com

Sorry for the delay, everyone! Hurricane Sandy was barely even a rainstorm in my neighborhood, but with cranes falling and my friends' apartments losing power, blogging fell by the wayside a bit. Fortunately my roommates and I only had some flickering lights to deal with, but I know many people who were more seriously impacted. Let's be thankful that most of the humans involved are safe and especially thankful for everyone who is helping put things back together.
The closest Sandy-related scare to my apartment- 57th St. & 6th Ave.
Someone totally got fired for not securing this.
The Process:
Spinach-Artichoke dip is close to a one-pan dish (more like one food processor and then one pan). Once I figured out the substitutions* for this dish, it was pretty easy to memorize. The two namesake ingredients, of course, plus five dairy-esque components (who knows what mayonnaise counts as, besides a fat), garlic, lemon, and seasonings. I overcooked the dip, but it turned out so delicious that I ended up modifying the recipe to reflect the 30 minute cook time. I like when the top gets nice and toasty. The proportions are the tricky part, but if you can remember that you put more of the less tangy flavors and less of the more tangy flavors, you should be good.

The Verdict:
There is usually a turning point in the preparation of a dish when you just know that it will be good (or not). For me, this moment was when I looked at the completed dip sitting in the food processor after the first 3 pulses. Even though the artichokes were still a little bit frozen and the mixture hadn't completely come together, it was in that moment that I saw the artistic mix of vibrant green (thank you, blanching) and luscious cream-white that I knew it was going to be amazing.

It was. And the 4-serving claim on the original recipe is ridiculous-- this recipe serves at least eight as an appetizer and six as a side.

There are a few modifications I will make to the recipe next time that I think will make the dip a bit thicker and make the artichokes more balanced with creaminess. I lowered the mayo, upped the cream cheese, and upped the parmesan topping measurements in the modified recipe-- if anyone tries it before I do, send your thoughts. But whatever you do, do not skip the garlic roasting step. It adds a carmelized quality that not only keeps your breath less garlicky but also seriously deepens the flavor of the dip.
The golden topping looks as good as it tastes!
The Modified Recipe: Spinach Artichoke Dip, adapted from Wolfgang Puck
Yield: 6 (side) or 8 (appetizer) servings
Ingredients:
  • 10 oz. package of frozen artichoke hearts, thawed
  • 3 bunches spinach, washed and stems removed
  • 1 head garlic
  • 1/2 cup mayonnaise
  • 1/2 cup cream cheese
  • 1/3 cup plain greek yogurt plus 1 tbsp heavy cream
  • 3/4 cup shredded parmesan cheese*
  • 2 tbsp goat cheese
  • 2 tbsp extra virgin olive oil
  • 1 tbsp lemon juice
  • 1 tsp salt
  • 1/4 tsp black pepper
  • 1/4 tsp paprika
Preparation:
  • Heat oven to 375°F.
  • Cut the top off of the head of garlic so the cloves are barely visible.
  • Drizzle olive oil on top and wrap in foil.
  • Place on the top rack of the oven for about 30-35 minutes, until the garlic feels soft. Remove and let cool for five minutes before unwrapping and popping out 4 garlic cloves. Reduce the oven to 350°F.
  • While the garlic is roasting, blanch the spinach, one bunch at a time. In a large metal sieve, dunk the spinach in a large pot of boiling water for 1 minute. Remove and dunk into ice water for 30 seconds. Drain and set aside until all spinach has been blanched.
  • Place artichoke hearts in a food processor and pulse until finely chopped.
  • Add mayonnaise, cream cheese, greek yogurt, heavy cream, 1/4 cup parmesan, goat cheese, 4 roasted garlic cloves, lemon juice, salt, and pepper. Process until combined (about 5 seconds).
  • Add the spinach and pulse until well blended but still with texture.
  • Spoon the dip into a shallow ovenproof dish.
  • Mix the remaining 1/4 cup parmesan and paprika. Spread across the top of the dip.
  • Place the dish in the oven for about 30 minutes, until hot throughout with a golden brown top.
  • Serve hot with crackers, bread, or crudites.
Cut, drizzle, and bundle. Make your garlic as snug as a bug, and it will pay you back in flavor! 
Everyone has their preferred way of squeezing lemon juice without getting seeds in. My favorite way is to quarter the lemon and slice off the fibrous core. Since that part is where most of the seeds are housed, you can squeeze away without worrying about seeds.
This is a good consistency before the cheeses and mayo are added,
so it doesn't become too pureed once the creamy part is added.
The wheel of indulgence (from 12:00):
goat cheese, mayo, greek yogurt and cream, parmesan, cream cheese
This is what I mean by blended with texture. It should take a little effort to scoop up.
Multiple dipping options (from 1:00):
gluten-free tortilla chips, low-cal rye flatbreads (Wasa), high-deliciousness ciabatta bread
*Tips:
  • Substitutions: The original Wolfgang Puck recipe calls for ingredients such as creme fraiche and marscapone cheese, which I am sure are delectable. However, to the layperson's palate, more readily available ingredients can do the same job.

    For creme fraiche, I put the same amount of full-fat plain greek yogurt plus 1 tbsp of heavy cream (though the cream is not totally necessary unless you have another reason to use it. I was making whipped cream for dessert, so it worked perfectly).

    For marscapone cheese, I substituted cream cheese. It has a similar sweet taste and spreadable texture.
  • Roasted Garlic: There are so many reasons roasted garlic is better than its raw (or even sauteed) cousins. First of all, say goodbye to nasty garlic breath. Second of all, farewell to tearing up a little bit because you bit down on a pungent chunk of garlic in your bruschetta. Third of all, it is actually sweet, meaning it adds a little toasty and caramelized flavor to whatever you put it in (soup, sauce, etc.). Finally, it is versatile! Serve with a cheese platter alongside the other accoutrements, place with your bread basket on the dinner table, or have fun with some other fun ways to blend it in. And if you have ever contemplated making garlic ice cream (they do it at the Garlic Festival in Gilroy, CA), you now know the trick!
  • Parmesan Cheese: I am not usually particular about brands, but my roommates and I agree that the Whole Foods brand 365 Everyday Value Shredded Parmesan Cheese is something special. I had pre-mixed the cheese and paprika topping in a small bowl, and when I walked out of the kitchen for a minute or so, I came back and it was all gone. I must have remade the topping mix three times!

Tuesday, October 23, 2012

Spinach-Artichoke Dip: The Recipe

Check out this recipe on my new and improved website: thewalkingcookbook.com

Question: How do you become the favorite person at a party?
Answer: Bring Spinach-Artichoke Dip that people finish before the bottle of wine. This is fact.*
*It's not actually fact except in my own brain.

The beauty of a good Spinach-Artichoke Dip is that it brings people together: wallflowers, socialites, dancers, the DJ, and even the snoggers in the corner come to the snack table to snag a bite of the hot, creamy, convince-yourself-it-might-be-healthy-because-there-are-two-green-veggies-in-it appetizer. At a dinner party, bringing folks together is even easier because everyone is already around the table (and there aren't snoggers in the corner). But some Spinach-Artichoke Dip sure doesn't hurt.

I chose to make Wolfgang Puck's version of dip, but I simplified the ingredients a bit for people who prefer not to go out of their way to find marscapone cheese and creme fraiche. Wolfgang Puck is a highly regarded as an Austrian-born, French-trained, California-inspired chef, and I trust him to put out a tasty recipe... even if it involves an entire cup of mayonnaise. (I can guarantee that my brother just stopped reading). My version of this recipe is also gluten free (until I dip loads of bread into it!).

I'll serve this as an app with various dippables: bread, crackers, and maybe some crudites (a fancy word for pieces of raw veggies). For the main course I'll cook up some shrimp and quinoa, and we'll finish it up with homemade pumpkin ice cream!
Spinach Artichoke Dip Recipe
Unless your dipping device is crispy and sturdy,
I recommend a knife or spoon to avoid spills and wasted dip

The Recipe: Spinach Artichoke Dip, adapted from Wolfgang Puck
Yield: 4 servings
Ingredients:

  • 3 bunches spinach, washed and stems removed
  • 10 oz. package of frozen artichoke hearts, thawed
  • 1 head garlic
  • 1 cup mayonnaise
  • 1/3 cup cream cheese
  • 1/3 cup plain greek yogurt plus 1 tbsp heavy cream
  • 1/2 cup shredded parmesan cheese
  • 2 tbsp goat cheese
  • 2 tbsp extra virgin olive oil
  • 1 tbsp lemon juice
  • 1 tsp salt
  • 1/4 tsp black pepper
  • 1/4 tsp paprika

Preparation:

  • Heat oven to 375°F.
  • Cut the top off of the head of garlic so the cloves are barely visible.
  • Drizzle olive oil on top and wrap in foil.
  • Place on the top rack of the oven for about 30-35 minutes, until the garlic feels soft. Remove and let cool for five minutes before unwrapping and popping out 4 garlic cloves. Reduce the oven to 350°F.
  • While the garlic is roasting, blanch the spinach, one bunch at a time. In a large metal sieve, dunk the spinach in a large pot of boiling water for 1 minute. Remove and dunk into ice water for 30 seconds. Drain and set aside until all spinach has been blanched.
  • Place artichoke hearts in a food processor and pulse until finely chopped.
  • Add mayonnaise, cream cheese, greek yogurt, heavy cream, 1/4 cup parmesan, goat cheese, 4 roasted garlic cloves, lemon juice, salt, and pepper. Process until combined (about 5 seconds).
  • Add the spinach and pulse until well blended but still with texture (4-5 pulses).
  • Spoon the dip into a shallow ovenproof dish.
  • Mix the remaining 1/4 cup parmesan and paprika. Spread across the top of the dip.
  • Place the dish in the oven for 15-20 minutes, until hot throughout with a golden brown top.
  • Serve hot with crackers, bread, or crudites.

Time to memorize: 2 days (eek... indecisiveness!)

Friday, October 19, 2012

Mac & Cheese: The Results and Modified Recipe


Check out this recipe on my new and improved website: thewalkingcookbook.com

The final bubbling product
The Process:
Putting four separate kinds of cheese on a shopping list when you aren't having a wine and cheese party is a very exciting thing. It is hard to believe that I was vegan for 2 1/2 years of my life, choosing to live without this beautiful food. That being said, not all cheesy meals are perfect. There are some gross looking recipes for Mac & Cheese floating around in the world. Some (which I will not put a link to) include Cheetos, ketchup, or even mayonnaise! If you are reading and want to attest to the advantages one of these ingredients, please write a comment. I am repulsed and intrigued at the same time.  

This simple recipe used so much cheese that I expected the flavors to be very bold and the sauce to be coating every piece, but I realized after the fact that in my memorization process I somehow doubled the amount of pasta involved, meaning the noodles were covered in only half the sauce that was called for. The upside: we had a LOT of Mac & Cheese.

Another interesting part of this recipe was the egg; I didn't really understand what it was for, but I learned that unless you are making a roux-based sauce to cook and pour over the top of the pasta (stovetop method), eggs are advantageous as a binding agent (not a big surprise-- I just used them for the same purpose in my Quinoa Burgers last week). So mystery solved: stovetop Mac & Cheese is eggless... baked Mac & Cheese recommends egg.

My final note about this recipe is that it can be made ahead of time. Just assemble the dish, then cover it and pop it in the fridge overnight. Bring it to room temperature before you put it in the oven (or just add 15 minutes to the cook time).
Good night, Macaroni

The Verdict:
Disclaimer: This will be a sad story.

Still reading? OK... I warned you. When the Mac & Cheese was served, all five of us around the dinner table looked at it in awe...I do not exaggerate when I say it was a colossal pan of macaroni. It made about 12 large servings, thick and wide, and we anticipated ample leftovers. I dished it up, and after the awkward food photo shoot during which my apartment family waited patiently, I dug in to take my first bite of the not-too-cheesy Mac (see above for an explanation of why-- bad memorizing). I bit in, chewed, chewed, chewed, chewed.......... chewed, chewed, chewed........... no flavor. None. Zero. Not even bland pasta flavor. I could not taste anything. However, I heard my roommate exclaim, "Oh my god!" (which sounded more like "Uhmmm mummm grrrrd!" through his macaroni-filled mouth) and saw everybody reach for seconds. Why me? Why couldn't I feel as indulgent as everyone else?

You see, I have been grumbling my way through a cold for the past week, and with my nose so stuffy, I could not smell anything. Not one to settle for an unsatisfactory meal, I did some tests: I could tell that my salad dressing was acidic, the craisins were sweet, and the Sriracha we had on the table was spicy, but I could not detect the unique flavors of each thing. For all my gustatory senses knew, the dressing was lemon juice, the craisins were raisins, and the Sriracha was jalapeño sauce. And the Mac & Cheese was nothing. I cut open a clove of garlic and held it to my nose. With a huge inhale, I barely detected any garlic at all. Clearly, there was no hope for me tasting the subtle flavors of the Mac & Cheese without a sense of smell, since my olfactory receptors were out to lunch. Tragic.

The verdict, then, comes from the other tasters in the room, who will be identified by the number of portions they ate:

  • "It's a mellow cheese blend with a sharp aftertaste." --Roommate #1, 3 servings
  • "Subtle overall, but then you get bites with the different cheese. That makes it more hearty... makes it a main dish." --Dinner guest/ best friend/ screenwriter, 2 servings
  • "Try it with Sriracha." --Roommate #2/ Sous Chef, 2 servings
  • "I think three servings speaks for itself" (and "Uhmmm mummm grrrrd!") --Roommate #3, 3 servings

If there is a moral to be drawn from this story, it is the following: ALWAYS get dibs on the leftovers.


Serve with a seasonal salad to lighten the meal up a bit
The Recipe: Marja's Mac and Cheese, by Marja Vongerichten, adapted from Food & Wine Magazine
Yield: 8-10 servings
Ingredients:
  • 3/4 lb. elbow macaroni
  • extra virgin olive oil
  • 1 1/2 cups heavy cream
  • 1 cup half and half
  • 1 cup whole milk
  • 2 large eggs
  • 1/2 tsp nutmeg
  • 1/4 tsp black pepper
  • 1/2 tbsp salt
  • 4 oz. extra-sharp cheddar cheese, shredded
  • 4 oz. sharp cheddar cheese, shredded
  • 4 oz. Monterey Jack cheese, shredded
  • 4 oz. cold cream cheese, cut into 1/2 inch cubes
The whole cheese family showed up: Extra Sharp, Sharp, Jack, and Cream Cheese
Preparation:
  • Preheat the oven to 350°F.
  • In a large pot of boiling, salted water, cook the macaroni for 3 minutes. Drain the macaroni and return it to the pot. Drizzle lightly with olive oil and toss well.
  • Butter a 10-by-15-inch baking dish.
  • In a large bowl, whisk the heavy cream with half-and-half, milk, eggs, nutmeg, salt, and pepper.
  • Stir in the cheddar and Monterey Jack cheeses and the macaroni.
  • Spread the mac and cheese in the prepared baking dish and scatter the cream cheese cubes on top.
  • Bake the macaroni for 5 minutes. Using the back of a large spoon, spread the melted cream cheese cubes evenly over the surface. Bake for 40 minutes until bubbling.
  • Removing the baking dish from the oven and preheat the broiler. Broil the mac and cheese about 3 inches from the heat source until richly browned, about 2 minutes.
  • Let stand for at least 10 and up to 20 minutes before serving.
Grate the cheese directly into the mixing bowl to save a dish-- just measure 4 oz. from the block
Make sure you don't overcook the pasta-- only 3 minutes in the boiling water
Cream cheese adds a smooth component to the sauce without overwhelming the flavor
Broil the top for the nice toasty looking and tasting top
I've said it once and I'll say it again: Get dibs on the leftovers.

Sunday, October 14, 2012

Catching Up! And Mac and Cheese: The Recipe

Check out this recipe on my new and improved website: thewalkingcookbook.com

Thanks to work, work, my brother visiting from LA, work, getting a cold, and work, it has been a while since I last wrote! Consider this a multitasking blog post:
1. Chowdah update
2. Explanation of mystery week
3. This week's dinner: Mac and Cheese

Chowdah Update:
Without going into too much detail, Clam Chowdah was a total success. The soup was surprisingly healthy tasting, despite the cream and butter used to bookend the recipe. My frozen clams worked perfectly (thank you to my roommate's culinary wiz of a mom, who suggested getting them from Whole Foods), and the consistency was a nice middle ground between the brothy clam chowder that I loathe so much and the stuff that makes you wonder if you might as well eat a heap of cream cheese with clams on top. Mashing the potatoes at the end does wonders for thickening the soup without extra cream. My one critique was that the soup totally lacked salt. I also tossed in some red pepper flakes, which always pack a nice punch. You can check out the revised recipe here, and see below for some delicious photos.


My new favorite thing is making a mise en place. It makes life so easy once everything is prepped.
These chopped and frozen clams made adding the protein a simple task. 
I couldn't find bread bowls, but any sourdough will do.
Don't pretend that whole wheat will have the same effect-- it's sourdough or nothing at all!
 
Mystery Week:
Yes, there is a week lacking from my blog. That is because I cooked but did not memorize anything this past week. My brother was visiting from Los Angeles, and he suggested a Quinoa Burger inspired by an LA joint called Burger Lounge. After stalking the website for as many ingredients as I could determine, I went crazy with creativity and concocted a veggie burger with a good amount of success! I'll write about it at some point, but that's what I have been up to this week. Some other curious activities I participated in this week:
Mac and Cheese Time!
As temperatures drop and the cozy clothes come out (that is no longer just a metaphor-- I actually just pulled all of my cold-weather clothes out from under my bed), it's time to start thinking about some comfort food for our family dinners and for my Walking Cookbook repertoire. Making a bubbling, gooey, decadent pan of Mac and Cheese is an amazing way to ring in the fall, but I have to admit... I don't even have the Kraft Mac and Cheese recipe memorized, let alone homemade. I feel like making "real" Mac and Cheese is tricky business. The incorrect cream to cheese ratio can lead to a watery or greasy texture, and for some reason eggs are involved in the recipe (I will soon find out why).

This week's recipe is from Marja Vongerichten (the lovely wife of Jean-Georges), featured in Food & Wine Magazine and served in JG's restaurant, The Mercer Kitchen. I like the fact that I won't need to cook the sauce at all ahead of time-- it cooks in the oven. I also like the addition of cream cheese, which  I imagine has an almost undetectable sweetening effect on the dish. Straightforward, simple, and easy to make ahead of time and bake up to a day later (just bring it to room temp first), this dish is sure to be a winner.

I'll lighten up the dish with a nice fall salad (pears, craisins, and nuts with a vinaigrette), and our dessert will be a nice strawberry shortcake.

No bread crumbs to feign crunchiness... this crisp exterior is all cheese, baby!
The Recipe: Marja's Mac and Cheese, by Marja Vongerichten, adapted from Food & Wine Magazine
Yield: 8-10 servings
Ingredients:
  • 3/4 lb. elbow macaroni
  • extra virgin olive oil
  • 1 1/2 cups heavy cream
  • 1 cup half and half
  • 1 cup whole milk
  • 2 large eggs
  • 1/2 tsp nutmeg
  • 1/4 tsp black pepper
  • 1/2 tbsp salt
  • 4 oz. extra-sharp cheddar cheese, shredded
  • 4 oz. sharp cheddar cheese, shredded
  • 4 oz. Monterey Jack cheese, shredded
  • 4 oz. cold cream cheese, cut into 1/2 inch cubes
Preparation:
  • Preheat the oven to 350°F.
  • In a large pot of boiling, salted water, cook the macaroni for 3 minutes. Drain the macaroni and return it to the pot. Drizzle lightly with olive oil and toss well.
  • Butter a 10-by-15-inch baking dish.
  • In a large bowl, whisk the heavy cream with half-and-half, milk, eggs, nutmeg, salt, and pepper.
  • Stir in the cheddar and Monterey Jack cheeses and the macaroni.
  • Spread the mac and cheese in the prepared baking dish and scatter the cream cheese cubes on top.
  • Bake the macaroni for 5 minutes. Using the back of a large spoon, spread the melted cream cheese cubes evenly over the surface. Bake for 40 minutes until bubbling.
  • Removing the baking dish from the oven and preheat the broiler. Broil the mac and cheese about 3 inches from the heat source until richly browned, about 2 minutes.
  • Let stand for at least 10 and up to 20 minutes before serving.
Time to memorize: 4 days

Monday, October 1, 2012

The Recipe: New England Clam Chowdah

Check out this recipe on my new and improved website: thewalkingcookbook.com

I used to think of Boston as a quaint, historic town with nice people who just had a funny accent (though I was born with a fairly standard American accent, so anything other than my own dialect sounds exciting and funny to me. That means you, Washingtonians who say "beg" instead of "bag"). However, after a recent trip to Boston and my encounter with a group of Massholes (yep, it's a thing) at Fenway Park, I was left with a slightly less positive view. Honestly, guys, just because the Angels' center fielder is named Trout, it does not mean that you have to make the same fish pun for the entire game. Even the high schoolers I teach know that a joke loses its impact after the third time. Anyway, the point of this story is that Boston is in need of some redemption from these less-than-gentlemen. To do so I will make a delicious New England Clam Chowdah and spell it as it should be pronounced, and in true Walking Cookbook style, I will do it without consulting the recipe.

I found my recipe on the Williams-Sonoma website. A few things that stood out to me in this particular recipe were the use of fresh clams instead of canned and the use of thyme (the one remaining indoor plant that I haven't completely killed-- someone help me learn to garden, please!) Some may grumble at me for omitting the bacon/pancetta/salt pork. Sorry, folks, but I just don't eat it. Add some in if you wish by first cooking it up in a pan, dumping out half of the grease, and proceeding with the preparation of the soup. Either way, I guarantee it will be some wicked awesome soup.

I'll be serving the Chowdah with some delicious bread and a salad to lighten up the meal. We'll top it off with a fruity dessert. After all that decadent cream, we will need something less weighty.


I have a dream of eating this soup out of a bread bowl--
we'll see if I can find some baby loaves
The Recipe: New England Clam Chowdah, adapted from Williams-Sonoma
Yield: 8 servings
Ingredients:

  • 1 container frozen chopped clams, thawed
  • 3 tbsp. unsalted butter
  • 1 yellow onion, diced
  • 2 celery stalks, diced
  • 2 garlic cloves, minced
  • 2 tsp. chopped fresh thyme
  • 2 lbs. yukon gold potatoes, peeled and diced
  • 2 tbsp. all purpose flour
  • 2 bay leaves
  • 1 cup heavy cream
  • 2 tsp. worchestershire sauce
  • salt and pepper, to taste
  • pinch of cayenne pepper
  • 1 tbsp. fresh chopped chives
  • red pepper flakes, to taste
Preparation:
  • Strain the juices of the clams through a fine-mesh sieve lined with cheesecloth into a bowl. Add enough water to the juices to total 5 cups. 
  • Set aside the clam meat.
  • Over medium heat, melt the butter in the pan. 
  • Add the onion, celery, garlic and thyme and cook, stirring occasionally, until the onion is soft, 3 to 5 minutes. 
  • Add the flour and cook for 1 minute more. 
  • Add the potatoes, bay leaves and clam juice-water mixture and bring to a boil. 
  • Reduce the heat and simmer until the potatoes are tender, about 15 minutes. 
  • Stir in the cream, Worcestershire, salt, black pepper and cayenne. 
  • Using a fork, lightly mash the potatoes against the side of the pot to thicken the soup. 
  • Add the clams and cook for 2 minutes. 
  • Remove the bay leaves and discard. 
  • Ladle the soup into warmed bowls or bread bowls and garnish with the chives and red pepper flakes.
Time to memorize: 3 days