Check out this recipe on my new and improved website: thewalkingcookbook.com
The Process:
Tampering with fame can be like playing with fire, and I felt like I did that a bit with this Ripert recipe. But as they say, the greater the risk, the greater the reward, and my fire play definitely paid off. The ingredient list in this recipe was hefty, but I was able to tackle it by keeping in mind that all I really have to do is measure and mix.
When I was in high school and studied for my AP classes, I would always wake up at 4:00 the morning of a test, grab a bowl of blueberries, and rewrite my vocabulary words on green flashcards in green ink while sniffing a peppermint scented candle. Those were my memorization techniques based on something I read in some "highly reputable" magazine that said blueberries, peppermint, and the color green were all good for memory (the 4:00 AM part was my own crazy plan). I think I have developed a better strategy for this blog... I memorize the ingredient list from largest to smallest quantity. For any of you playing along at home, I will try to write all my recipes the way I think of them now, because just knowing that there are x ingredients that call for y tablespoons is enough to remind me what they are, and hopefully it will help you remember too. According to my most recent graduate education course, they call that "chunking," and it helps home cooks and struggling readers alike.
The Verdict:
I made this dish for the largest crowd I have served yet (eight-person dinner at my apartment, stretching the six-serving recipe a bit) and everyone's plates were totally clean. It got two thumbs up from my roommate's dad, who is a sushi buff and eats the most divine seafood straight out of the water in Baja California, Mexico (jealous). And an extra special guest who does not usually like fish or wasabi worked through it with no problems. He surprised even himself!
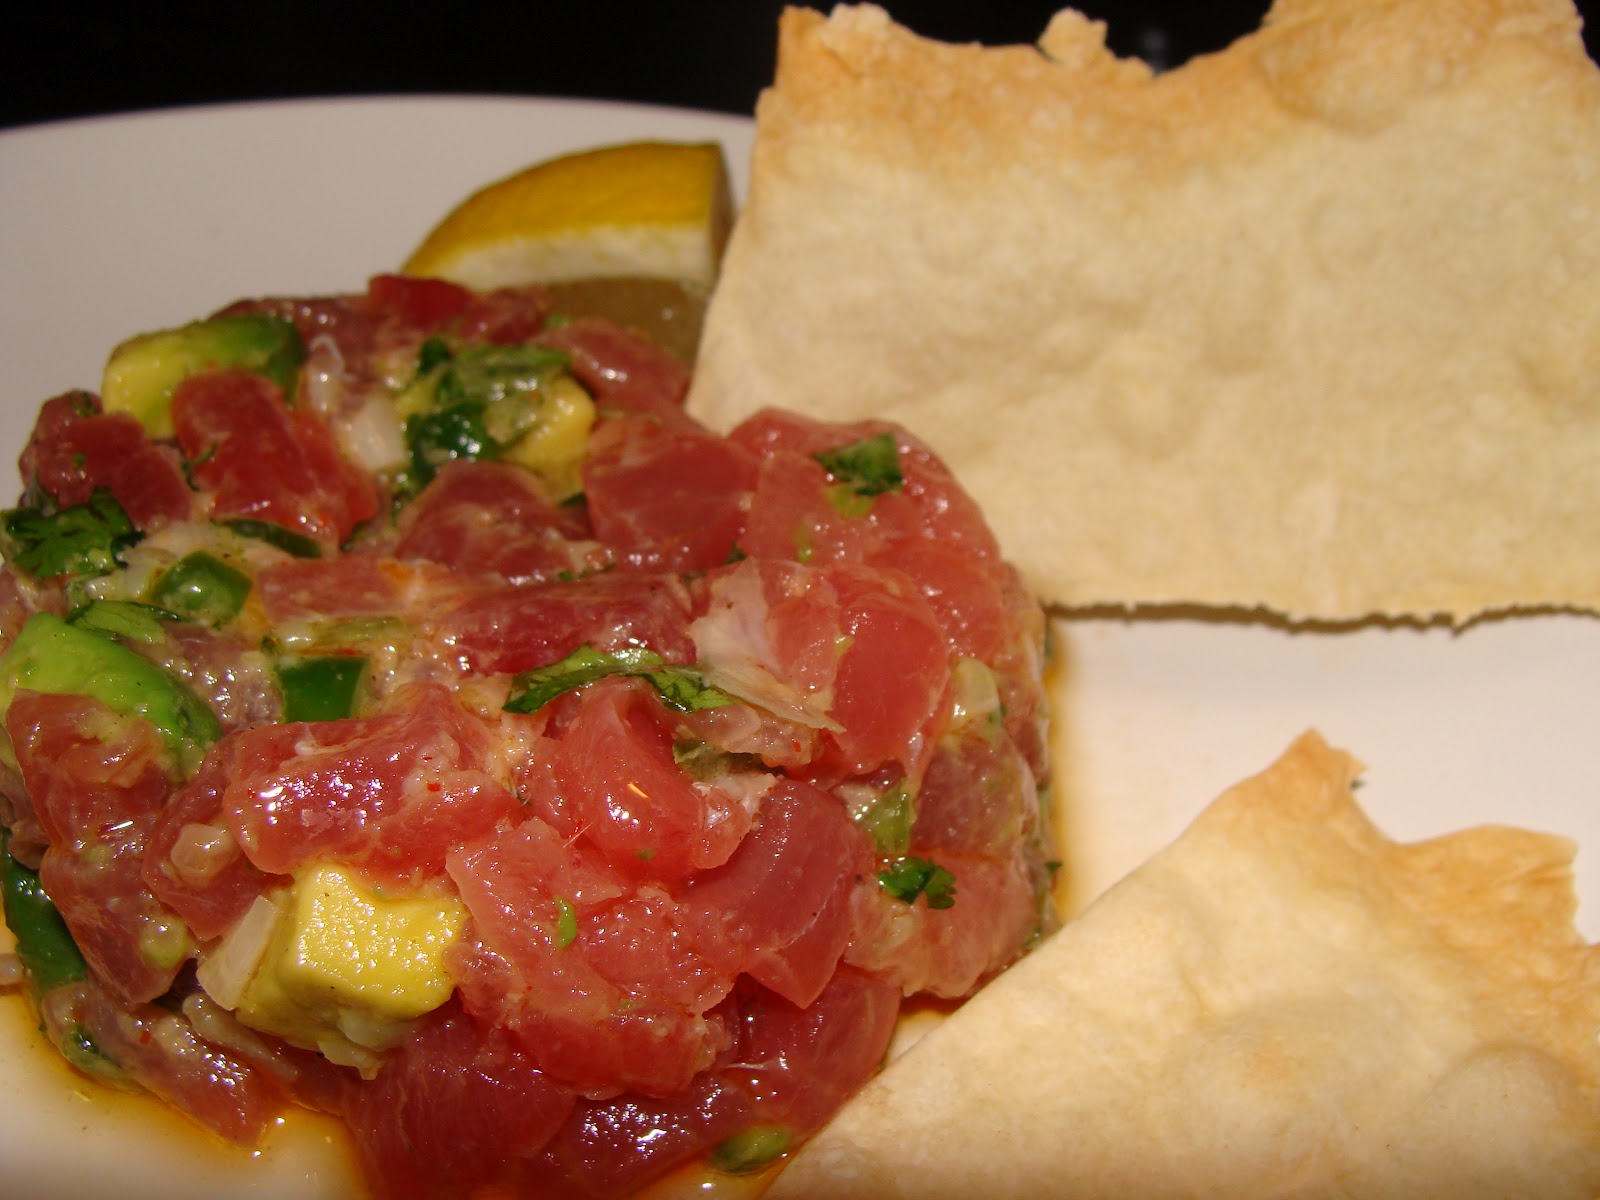
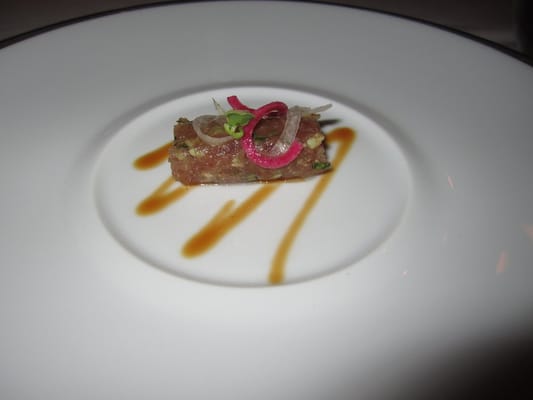
One bite into the Tuna Tartare had me wishing I had made more. It was light and refreshing yet filling, zesty but not spicy by any means, and had just enough texture on its own with the avocado and scallion. Of course, I would never take credit away from the crackers for adding real crunch (and bragging rights for making homemade crackers).
Now for my modifications... I added the avocado to the whole recipe because it bulked up the dish a bit and gave a creamy element. I was very happy with those results. Oddly enough, Whole Foods was out of fresh jalapeños, so about 1 1/2 serrano chiles did the trick. The only thing I would do differently in the future is significantly reduce the amount of oil in the marinade-- really, only 1/4 cup total is necessary, and the rest gets all over the plate. Stick with the ginger oil because of its delectable Asian flair. The updated recipe is below.
To make sure everyone left dinner full and content, I served the Tuna Tartare with a Cold Sesame Noodle Salad and we had Chocolate Mousse (plus gourmet takes on Hostess classics from Empire Cake) for dessert. As one of my wonderful dinner guests said, "You've really outdone yourself this time!" If you're looking to impress, read on...
 |
| Cool, quick, and healthy-- my idea of the perfect summer dinner |
The Modified Recipe: Marinated Yellowfin Tuna Tartare with Ginger Oil and Flatbread Crackers, adapted from On the Line
Yield: 6 servings (4 oz. tuna with 4 crackers)
Tuna Tartare Ingredients:
- 1.5 lbs yellowfin tuna*
- 1 lemon, cut into 6 wedges
- 1 avocado
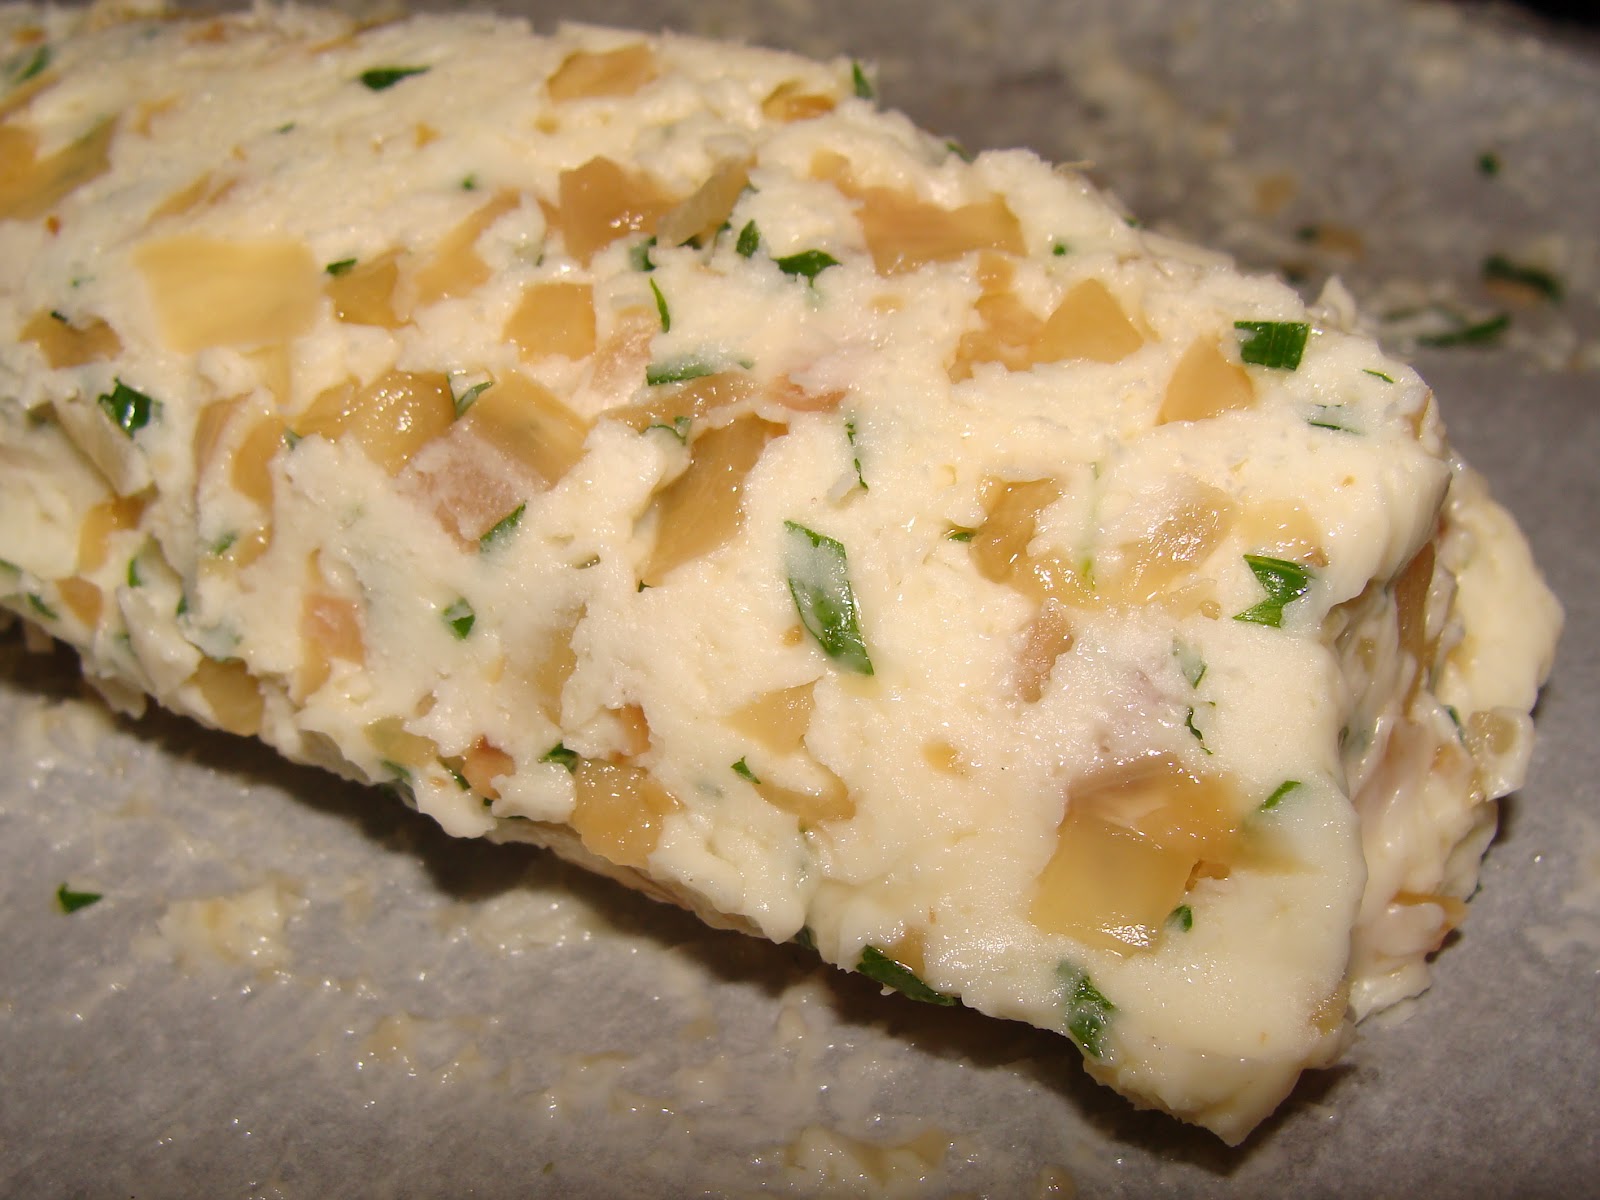
- 1/4 cup ginger oil (recipe follows)
- 3 tbsp minced scallion (white part only)
- 3 tbsp chopped cilantro (leaves only)
- 3 tbsp lime juice
- 1 tbsp wasabi paste
- 1 tbsp minced serrano chile, seeds removed
- 1 tsp Sriracha chile sauce
- Salt and pepper
Tuna Tartare Preparation:
- Cut the tuna, first on the bias*, then into a 1/4 inch dice. Remove any sinewy bits. Put in the refrigerator in a large bowl until ready to mix.
- Combine the ginger oil, wasabi, scallion, jalapeño, cilantro, lime juice, Sriracha, salt, and pepper in a measuring cup or bowl. Whisk and pour over tuna.
- Cut the avocado in half and remove the pit. Use a sharp knife to make 1/4 inch grid cuts in each half of the avocado.*
- Scoop the avocado out of its skin onto the tuna and break the pieces apart. Mix gently, trying not to mash the avocado.
- Garnish with a lemon wedge and serve.*
- 4 oz ginger, peeled and minced
- 1/2 cup canola oil
- Put the ginger in a clean jar and add the oil.
- Seal tightly and let stand at room temperature for 2 hours or refrigerate overnight.
- Can be stored in the refrigerator up to 2 weeks.
Flatbread Cracker Ingredients:
- 3/4 cup all-purpose flour
- 1/4 cup water
- 1 tsp extra virgin olive oil
- 1/2 tsp fine salt
Flatbread Cracker Preparation:
- Combine the flour and salt in a mixing bowl.
- Whisk together the water and olive oil, add to the flour and mix until smooth.
- Cover the dough and refrigerate for 1 hour.
- Preheat the oven to 300°.
- On a lightly floured surface, roll out the dough very thin and slice into 1.5"x4.5" rectangles.
- Place the rectangles on a parchment-lined baking sheet and bake 10-15 minutes until golden brown.
- Cool on a rack and store for up to a week.
*Tips:
- Yellowfin tuna: Also known as Ahi, this stuff runs about $21/lb. Get it somewhere good. For that price, you are allowed to be picky at the fish counter and ask for the pieces that are the most vibrant red (lighter coloring usually means there is a lot of sinew, and we don't pay $21/lb for sinew).
- Cut on the bias: In case you forgot from the days of Ceviche, here's a refresher to get the most tender fish pieces possible. A small dice like in this recipe is a bit more forgiving, though.
- Cutting an avocado into a grid: In case my description above was confusing to you, check out this beautiful picture from CreateLive. For this recipe, you'll want your grid squares to be much smaller.
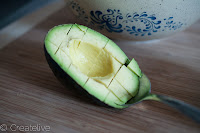 |
| These are 1/2 inch grid squares. We want about 1/4 inch. |
- Plating the Tuna Tartare: This is my favorite part. If you don't have a ring mold to make a nice little cylindrical mound like you see in restaurants, line a ramekin or even a dry measuring cup with plastic wrap. Press the Tartare into it to fill all corners, then flip the dish over onto the plate. Tap the bottom of the measuring cup or ramekin a few times and lift straight up. The Tartare should be looking classy on the plate and your plastic wrap should be empty and ready to use for the next serving.